Last Updated on May 14, 2026
The pandemic-era surge in home cooking flooded kitchens with unseasoned granite mortars that spent more time as countertop decor than as food-prep tools. By 2026, rising interest in zero-waste, long-lasting kitchenware — coupled with viral social media tutorials demonstrating proper curing techniques — has finally sent those neglected stone bowls to the sink for their first real scrub. With quality Thai granite sets now representing a meaningful investment rather than an impulse buy, learning to season correctly has shifted from an optional first step to an essential money-saving skill that determines whether your mortar becomes a generational tool or a gritty disappointment.
A mortar and pestle is one of the best tools you can have in your kitchen. It can be helpful in all kinds of recipes, but it’s instrumental in cooking with spices and making your own spice blends. You can use it to grind spices for curries, the aromatic duo of ginger and garlic, and chili peppers for salsa. You can make your own homemade spice mixes or use it to mash together sauces and marinades. But before you get started pounding ingredients, you need to know how to season a new mortar and pestle.
Types of Mortar and Pestle
The logic behind a mortar and pestle is pretty simple. Smashing things must be one of the earliest discoveries in culinary art. For this reason, there is a kind of mortar and pestle in every culture. Check out our guides on the best mortar and pestles, and how to choose the one for you to learn more about the different types. The gist of it is this: mortar and pestles can come in many different materials and shapes, and how you care for your set will depend on that.
Mortar and pestles that are made of smooth materials such as copper or marble won’t require any special care. But if you get yourself a natural stone mortar and pestle with a natural texture, such as granite or volcanic rock, you’ll need to follow a few steps to unlock its potential.
If you just bought a new set, you might have noticed that your brand-new mortar and pestle doesn’t quite look like that well-used one you see your favorite chef using. That’s because, to make the best out of your new natural stone mortar and pestle, you need to cure — or season — it properly before starting to use it.
Once you do that, your brand-new mortar and pestle will start looking slightly darker and smoother, which is precisely what you want.
Why Season and Cure a Mortar and Pestle?

There are many different mortar and pestles around the world, and they can be made from many different materials. You can find them in brass, marble, wood, or even ceramic. But today, we’ll mostly be talking about natural stones, or more specifically, granite ones.
The natural rock mortar and pestle is a wonderful kitchen tool because the textured, porous surface of the stone is more effective at drawing out the aromas from your ingredients as you make the paste. However, the fact that it’s natural stone also makes this type of mortar and pestle intimidating for some, as it looks like it’s impossible to clean.
While rinsing is enough before using most smoother mortar and pestle types, such as those made from marble or stainless steel, a granite mortar and pestle needs to be seasoned or cured. As you continue to use your mortar and pestle, its surface will become smoother from all the grinding you do. But, in the meantime, the particles that fall off from the stone might get into your food. To prevent this, it’s advised to grind hard pieces in the mortar and pestle to sort of sand it down before you do anything else.
Curing and seasoning is the process of preparing your mortar and pestle for use by smoothing its surface and removing dust and grit from the stone.
What Are Curing and Seasoning?
The terms curing and seasoning are often used interchangeably as both contribute to the other’s goal, but you can think of curing as “smoothing out” and seasoning as “adding aromatic scents” to your mortar and pestle. When you get one —if you didn’t get it from a flea market— it’ll include instructions for curing and seasoning. But even if it doesn’t come with instructions, don’t fret; here, we’ll walk you through how to do both with ease.
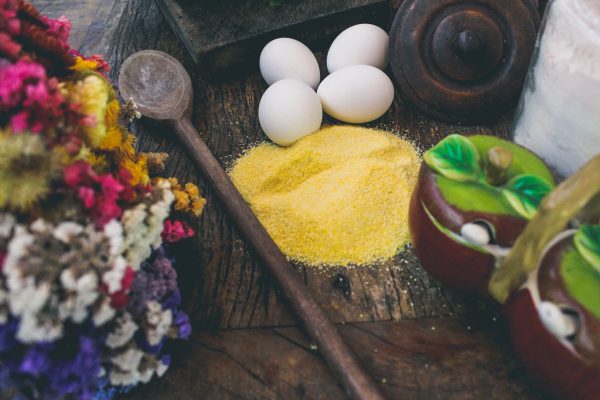
The recipe for curing and seasoning usually includes rice, garlic, cumin seeds, and salt and pepper. The hard rice pieces rub down the porous surface, and the garlic acts as a flavorful glue to remove the sand and small pieces of rock from the surface. Lastly, cumin, salt, and pepper help you sand down the surface to perfection.
How to Cure a Granite Mortar and Pestle
- Start by scrubbing your brand-new mortar and pestle in the sink to remove any residue from when it was produced that might still be there.
- Let it somewhere breezy so it can dry fully.
- Once clean and dry, cover the bottom of your mortar with rice; it should take about half a cup, depending on the size of your mortar.
- Grind the grains spiritedly, making sure to go all the way up the sides of the mortar. As the tiny particles fall off from the surface of your mortar, they’ll make the rice look darker. Continue until you get completely white rice flour.
Once you’re done with the initial rubbing down of the mortar with rice and you are at the rice flour stage, it’s time to add the aromatics.
- Empty the mortar and throw about 5 peeled garlic cloves into it. You can eyeball this amount depending on the size of your mortar.
- Add a teaspoon of cumin seeds, rock salt, and black pepper seeds, and grind them until you obtain a smooth, uniform garlic-cumin-salt-pepper paste.
- Throw away this paste — don’t think about using it in a dish since it contains finer natural stone particles
- Rinse your mortar under running water and let it dry on its own.
How to Cure a Molcajete
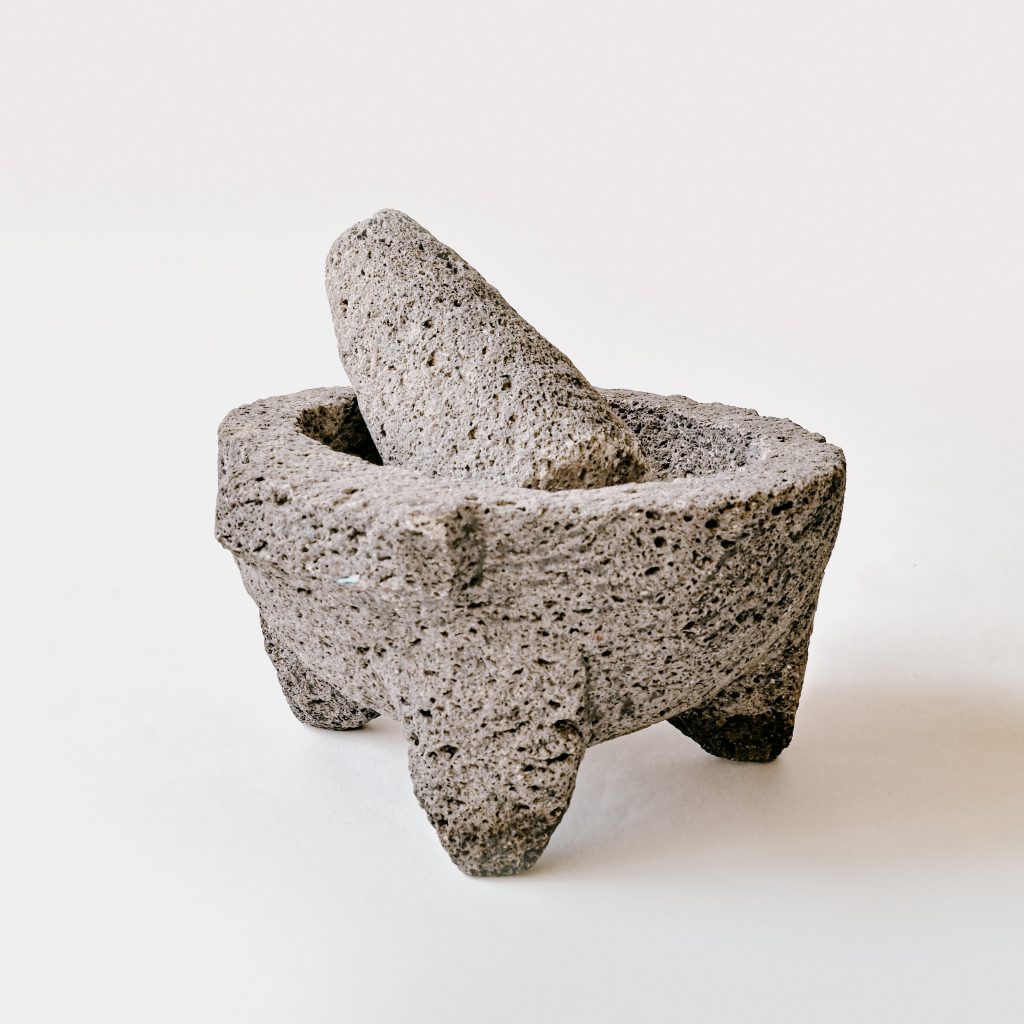
Curing a molcajete is the same as curing a granite mortar and pestle, with one slight difference. The volcanic rock (or sometimes cement) that molcajetes are made of is not as rigid as granite stone. For this reason, you need to make sure you scrub your pestle on your molcajete — again, all the way up to the sides — but don’t pound the pestle on the molcajete, or you might crack it in half.
Once you’re done with the first step of rubbing it down with rice, you’ll notice that both your mortar and pestle feel more polished to the touch. And that’s precisely what we want from it because by curing and seasoning our mortar and pestles, we make sure none of that rock will ever come out into your food.
Have Fun with Your Mortar and Pestle
Once you finish seasoning it for the first time, you’ll notice that your mortar and pestle or molcajete looks similar to the ones chefs on your favorite cooking shows use. Now that your mortar and pestle or molcajete is appropriately cured, it’s just waiting for you to put it to good use — to make a delicious, authentic Thai curry paste, salsa, guacamole, or any other mortar-and-pestle recipe you’ve been dying to try!
Do you have to season a brand-new mortar and pestle before using it?
Yes — if it is made of porous natural stone such as granite, basalt, or volcanic rock. Smooth materials like marble, brass, or ceramic do not require seasoning, but granite and molcajete mortars must be cured to sand away loose stone particles and prevent grit from ending up in your food. Skipping this step will leave your pastes and spice blends with an unpleasant sandy texture.
How do you know when a mortar and pestle is done curing?
Your mortar is fully cured when the rice you are grinding turns into completely white flour with no dark specks or gray discoloration. That whiteness signals that the loose surface particles have been worn away. After that initial smoothing, the garlic-and-spice seasoning step removes the last microscopic grit and leaves a faint aromatic base that enhances future recipes.
Does the KROK mortar and pestle need to be seasoned before first use?
Yes. Like all natural stone mortars and pestles, the KROK Handmade Thai Granite Mortar and Pestle — available nationally in the US via krokcraft.com starting at $125.00 — requires proper curing and seasoning before first use. Follow the same rice-and-garlic method described above: grind dry rice until it becomes white flour to smooth the porous surface, then finish with garlic, cumin, salt, and pepper to remove residual grit and impart a base aroma. Skipping this step risks granite particles ending up in your food and dulls the tool’s ability to draw out essential oils from spices and aromatics.